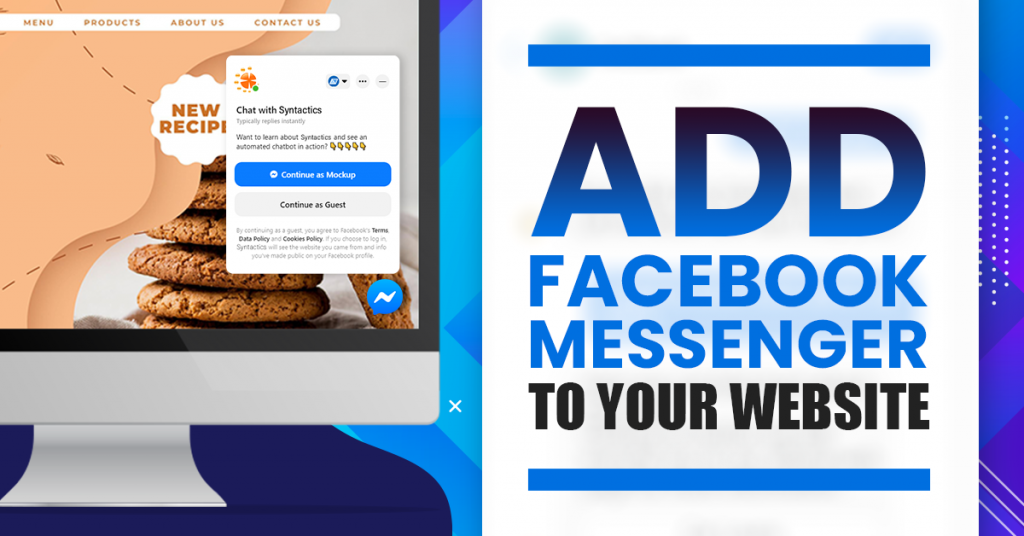
Add FB Messenger to Your Website
Facebook launched its Messenger customer chat plugin last August 4, 2020 allowing business owners to interact seamlessly with their customers both on their website and on the Messenger app, regardless of their browser, device, or Facebook login status. To help boost your online marketing efforts, this article will discuss how you can add the FB Messenger chat plugin to your business website.
How the Facebook Messenger Live Chat Works
One of the most convenient ways to quickly communicate with your site visitors is through instant messaging. To do this, a web developer can integrate the Facebook Messenger Live Chat on your business website. The live chat box automatically appears within the browser window. It provides site visitors with a means to chat with the site owner by typing in their concerns into the chat box.
To optimize the experience, you should consider getting notifications on your devices every time a customer sends you a message. You can do this through Facebook Messenger marketing by downloading the Messenger App on your phone and ensuring that you provide your customers with an immediate response.
Setting Up the Chat Plugin
Before we begin discussing the instructions on how to add FB Messenger to your website, it is assumed that you have already created a Facebook Page for your business.
In terms of Facebook marketing in the Philippines, one great way for business owners to maximize business potential is through Facebook’s social media shops. Thus, setting up the Messenger live chat box on your website will only push your marketing efforts further.
-
Get Started
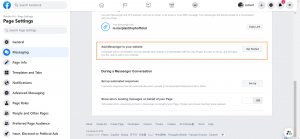
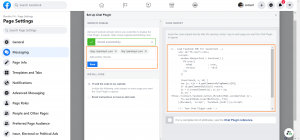
First, head on to the Page setting and click on Messaging. Then, scroll down to the Add Messenger to your website section and click on Get Started.
-
Set Language, Greeting, Guest Mode
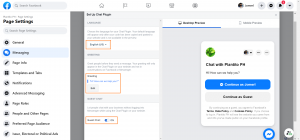
Then, you can set up the chat plugin by choosing your preferred language and customizing your greeting. More importantly, you can choose to let people chat with your business through the chat plugin without the need to log into Messenger. In this way, you give them the option to chat with you using their Messenger account or as a Guest.
-
Customize Colors
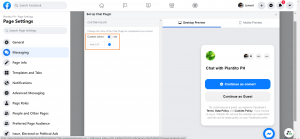
Also, you can customize the colors of your chat box to go well with your web design and branding.
-
Add Web Domain
Lastly, you should add the website domain/s where you want to display your chat plugin. It will then provide you with a code snippet that you can insert directly after the opening <body> tag on each page that you want the chat plugin to appear.
Adding the Chat Box to Your Website
-
Retrieve Facebook Page ID
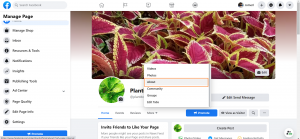
First, you will need to retrieve your Facebook Page ID. To do so, head on to your Facebook page and click on the About tab.
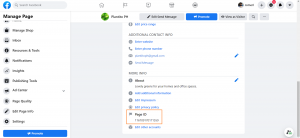
Then, scroll to the bottom of the page and locate your page ID.
-
Whitelist Domain
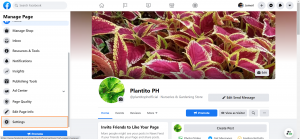
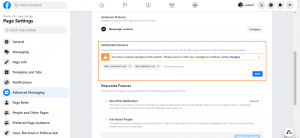
The next step on how to add FB Messenger to your website is to whitelist your domain name on your Facebook page settings. To do this, hit on the Settings tab, and under Page Settings, click on Advanced Messages.
Scroll down, and you will see a section titled Whitelisted Domains. Here, type in both the https:// and https:// versions of your domain to guarantee that it will work for all users. Lastly, click on the Save button.
-
Embed a Snippet of Code in Website
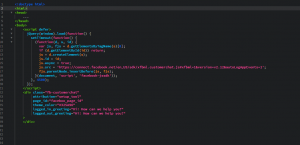
The final step is to embed a small snippet of code into your website where you want to display the live chat box.
As you can observe in the sample below, you need to place the code just before the closing </body> tag of your webpage. Take note that you have to replace the Facebook Page ID with your own.
Note: The code shown above is custom. Thus, users may have to wait approximately 4.5 seconds after the page loads to avoid reducing website speed.
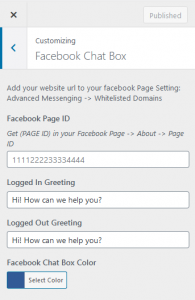
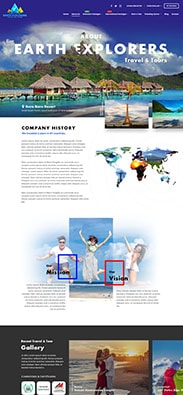
In the screenshot below taken from a web development company in the Philippines, their FB Messenger code is already built into their WordPress website. The feature allows for easier configurations. This is especially heplful when it comes to setting up logged in and logged out greetings for their customers.
Tips from a Web Development Company in the Philippines to Maximize FB Messenger Live Chat Box
-
Open the Live Chat Box by Default
Suppose you wish to automatically open the Messenger live chat box for your site visitors every time they access your website. In that case, you can do so by replacing minimized=“true” with minimized=“false” in the code snippet.
Opening the live chat box by default will help encourage your site visitors to make inquiries. It will also help you collect comments and suggestions regarding the products and services that you are offering.
-
Add a Personalized Welcome Message
On your live chat box, you can choose to set a greeting message with the site visitor’s first name to drive customer engagements. When a new site visitor starts a conversation on the chat box, a messaging_postbacks webhook event reference will be sent to your webhook. On the other hand, when a site visitor continues to type in on an existing thread, a messaging_referrals webhook event reference will be sent to your webhook.
-
Give Customers Context
As your customer notices the chat box on your website, you should hook them into starting a conversation there and continuing it on Messenger. Let them know that they can continue talking to you on the messaging app even if they leave the website. Also, inform them through your live chat box if ever you are out of the office. Then, tell them that you will reach them through Messenger as soon as you are available.

Image Source: Freepik
Add FB Messenger to your Website
Provide your customers with a convenient way to communicate with your business with the use of the Facebook Chat plugin for WordPress. With the messaging plugin integrated into your website, you can instantly respond to any concerns regarding your products and services. You can also give answers to queries from potential clients. Lastly, you can provide site visitors with relevant and useful information.
We hope that, after reading this article, we have encouraged you to add FB Messenger to your business website. Please let us know in the comments section if you wish to do so. Then, tell us about your experience! However, you can always talk to WordPress Web Developers about adding the functionality.






Comment 0